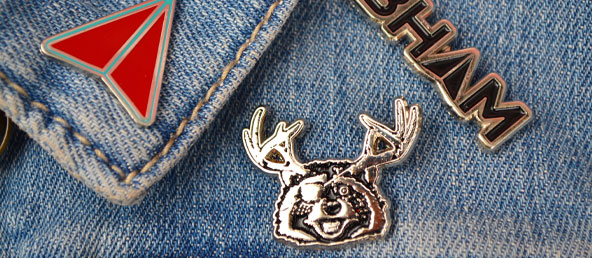
What is Lapel Pin
A lapel pin, also known as an enamel pin, is a small pin worn on clothing, often on the lapel of a jacket, attached to a bag, or displayed on a piece of fabric. Lapel pins can be ornamental or can indicate the wearer’s affiliation with an organization or cause.
Lapel pins are frequently used as symbols of achievement and belonging in different organizations. Lapel pins from the organization are often collected by members and non-members alike.
Businesses, corporates, & political parties also use lapel pins to designate achievement and membership. Lapel pins are a common element of employee recognition programs, and they are presented to individuals as a symbol of an accomplishment.
Fundamentally, there are 6 basic types of lapel pins:
- Soft enamel pins
- Hard enamel or cloisonné pins
- Printed pins
- Die struck pins
- 3D cast pins
- Laser etched pins
Basic Lapel pin construction all starts with a metal base material. The difference in pin type will determine the type of base metal to be used as noted below.
Iron, Copper, Zinc alloy and Brass are the most common materials used in lapel pin production.
What you need to prepare before we start making the pins for you:
Prepare Your Pin Artwork File
You need to prepare before we start making the pins for you. Here are some tips for you when you prepare your pin artwork file:
Tip 1 : Make sure that the linework is crisp and connected.
These lines are going to be what separates the colors. These colors are manually poured onto the pin so having thick enough and crisp lines are essential.
Tip 2 : Make sure your design matches the size you want
The size of the pin is usually between 1-2 inches, the smaller the size,the more complex your design, it will be hard to make, then it will take time to modify the design, so for the small size, the design can be relatively simple.
Tip 3 : Make sure to present all your requirements in the file
Usually the file not only contains the size, color, metal finish, etc., but if you have other additional requirements, please indicate them in your file.
Tip 4: Make sure that you use the Pantone color matching system
In order to communicate what colors, you want for your custom enamel pins. Most manufacturers use this system to get the right colors.
How to Make Pin
Step 1: Creating A Stamping Mold
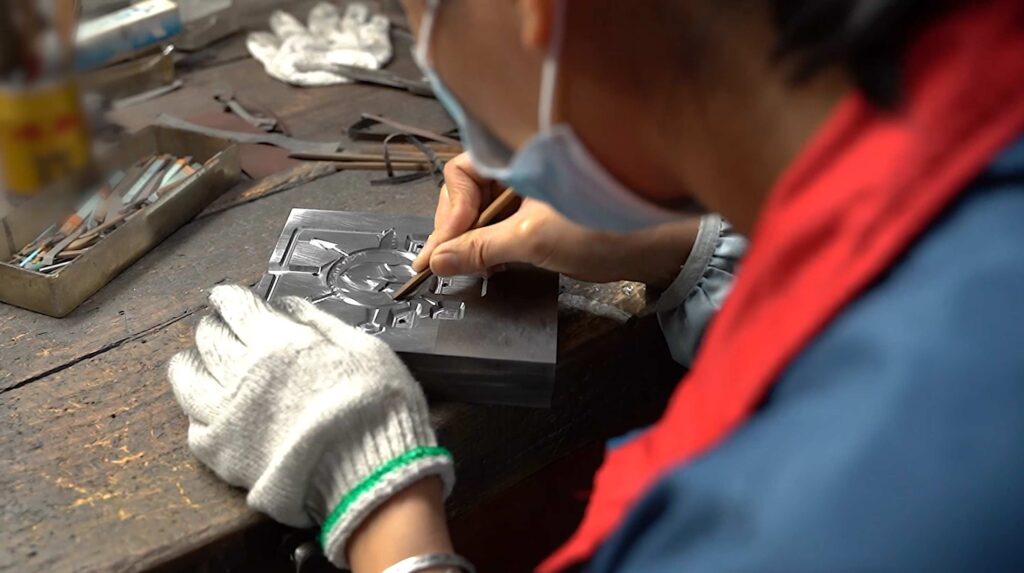
Most enamel pins are made using the die-struck manufacturing process. This process requires a stamping mold so that your pin design is stamped into zinc metal. In most cases this process takes about 2-3 days to complete.
Step 2: Die Casting
“Die casting” is required so that your pins can be trimmed after stamping the design into a metal strip. The “tool” is the outline of your pin. And the “die” is used to remove the excess metal from the pin blank. This part of the process is time consuming and slow.
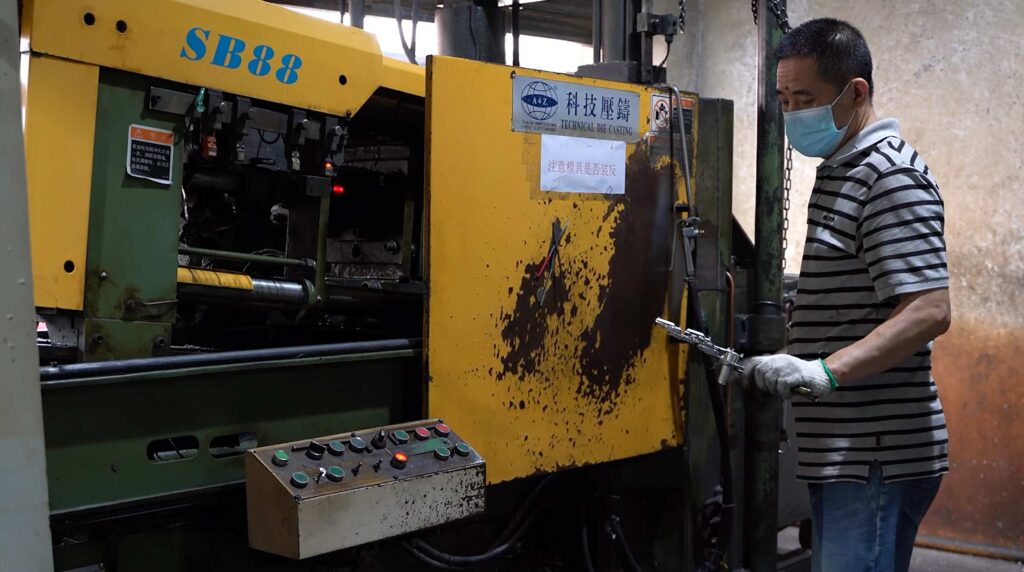
Step 3: Stamping
Now that the mold and die are made we can begin manufacturing your pin. A machine operator adds your stamping mold to a hydraulic stamping press. The operator feeds a strip of zinc metal over top of the mold and applies approximately 5 tonnes of pressure to the metal so that the pin assumes the shape of your design.
Step 4: Trimming
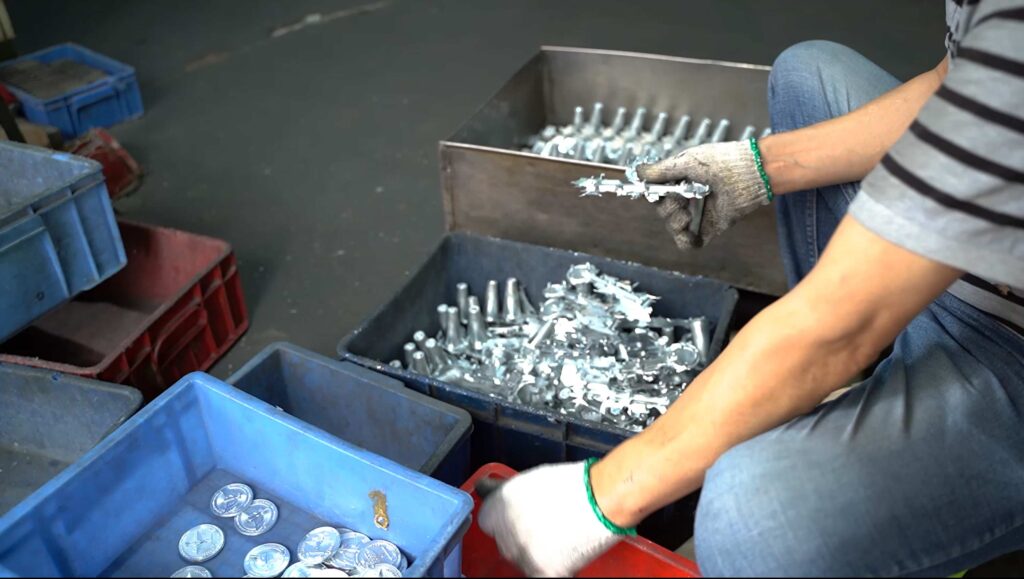
Once your pins are stamped into zinc strips, the project moves to the trim press. The excess “flange” that surrounds your pin is chopped off. Now we can start decorating your pin!
Step 5: Polishing
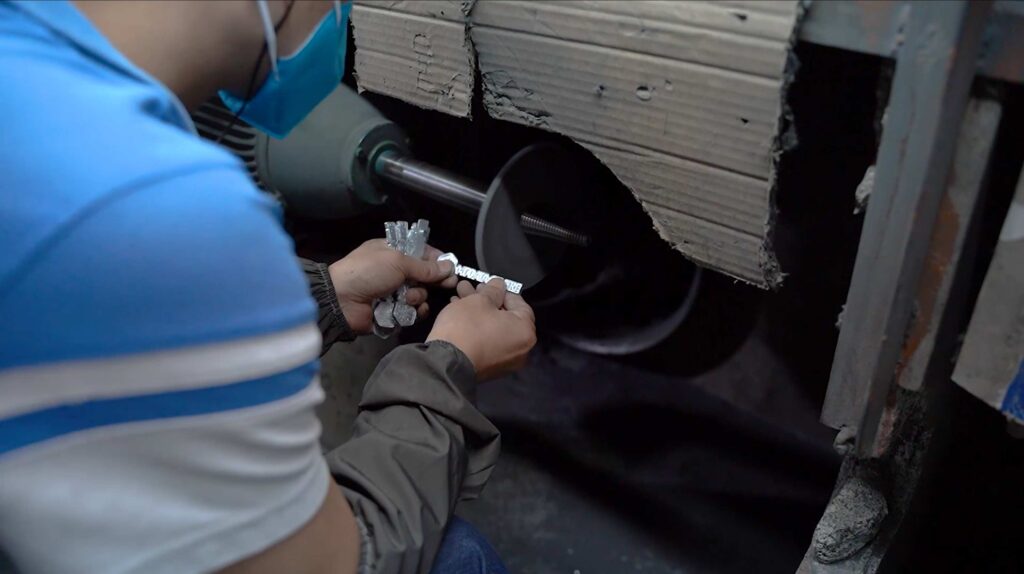
Polishing is a very important part of the production process, we are responsible for every customer, so we are very strict about polishing.
The polishing grinding wheel is divided into many kinds, there is a hard sand wheel, soft cloth wheel, and so on. If smooth requirements are not high, we can use the grinding sand wheel directly polished production, if customers want to get a smooth surface or mirror gloss, we need to use the cloth wheel to polish productions.
Each custom enamel pin will be a separate polished and the worker carefully controls the contact with the cloth wheel to ensure that the polished surface can be polished. After polishing, side polishing is still done by hand, one by one individually polished.
Step 6: Electroplating
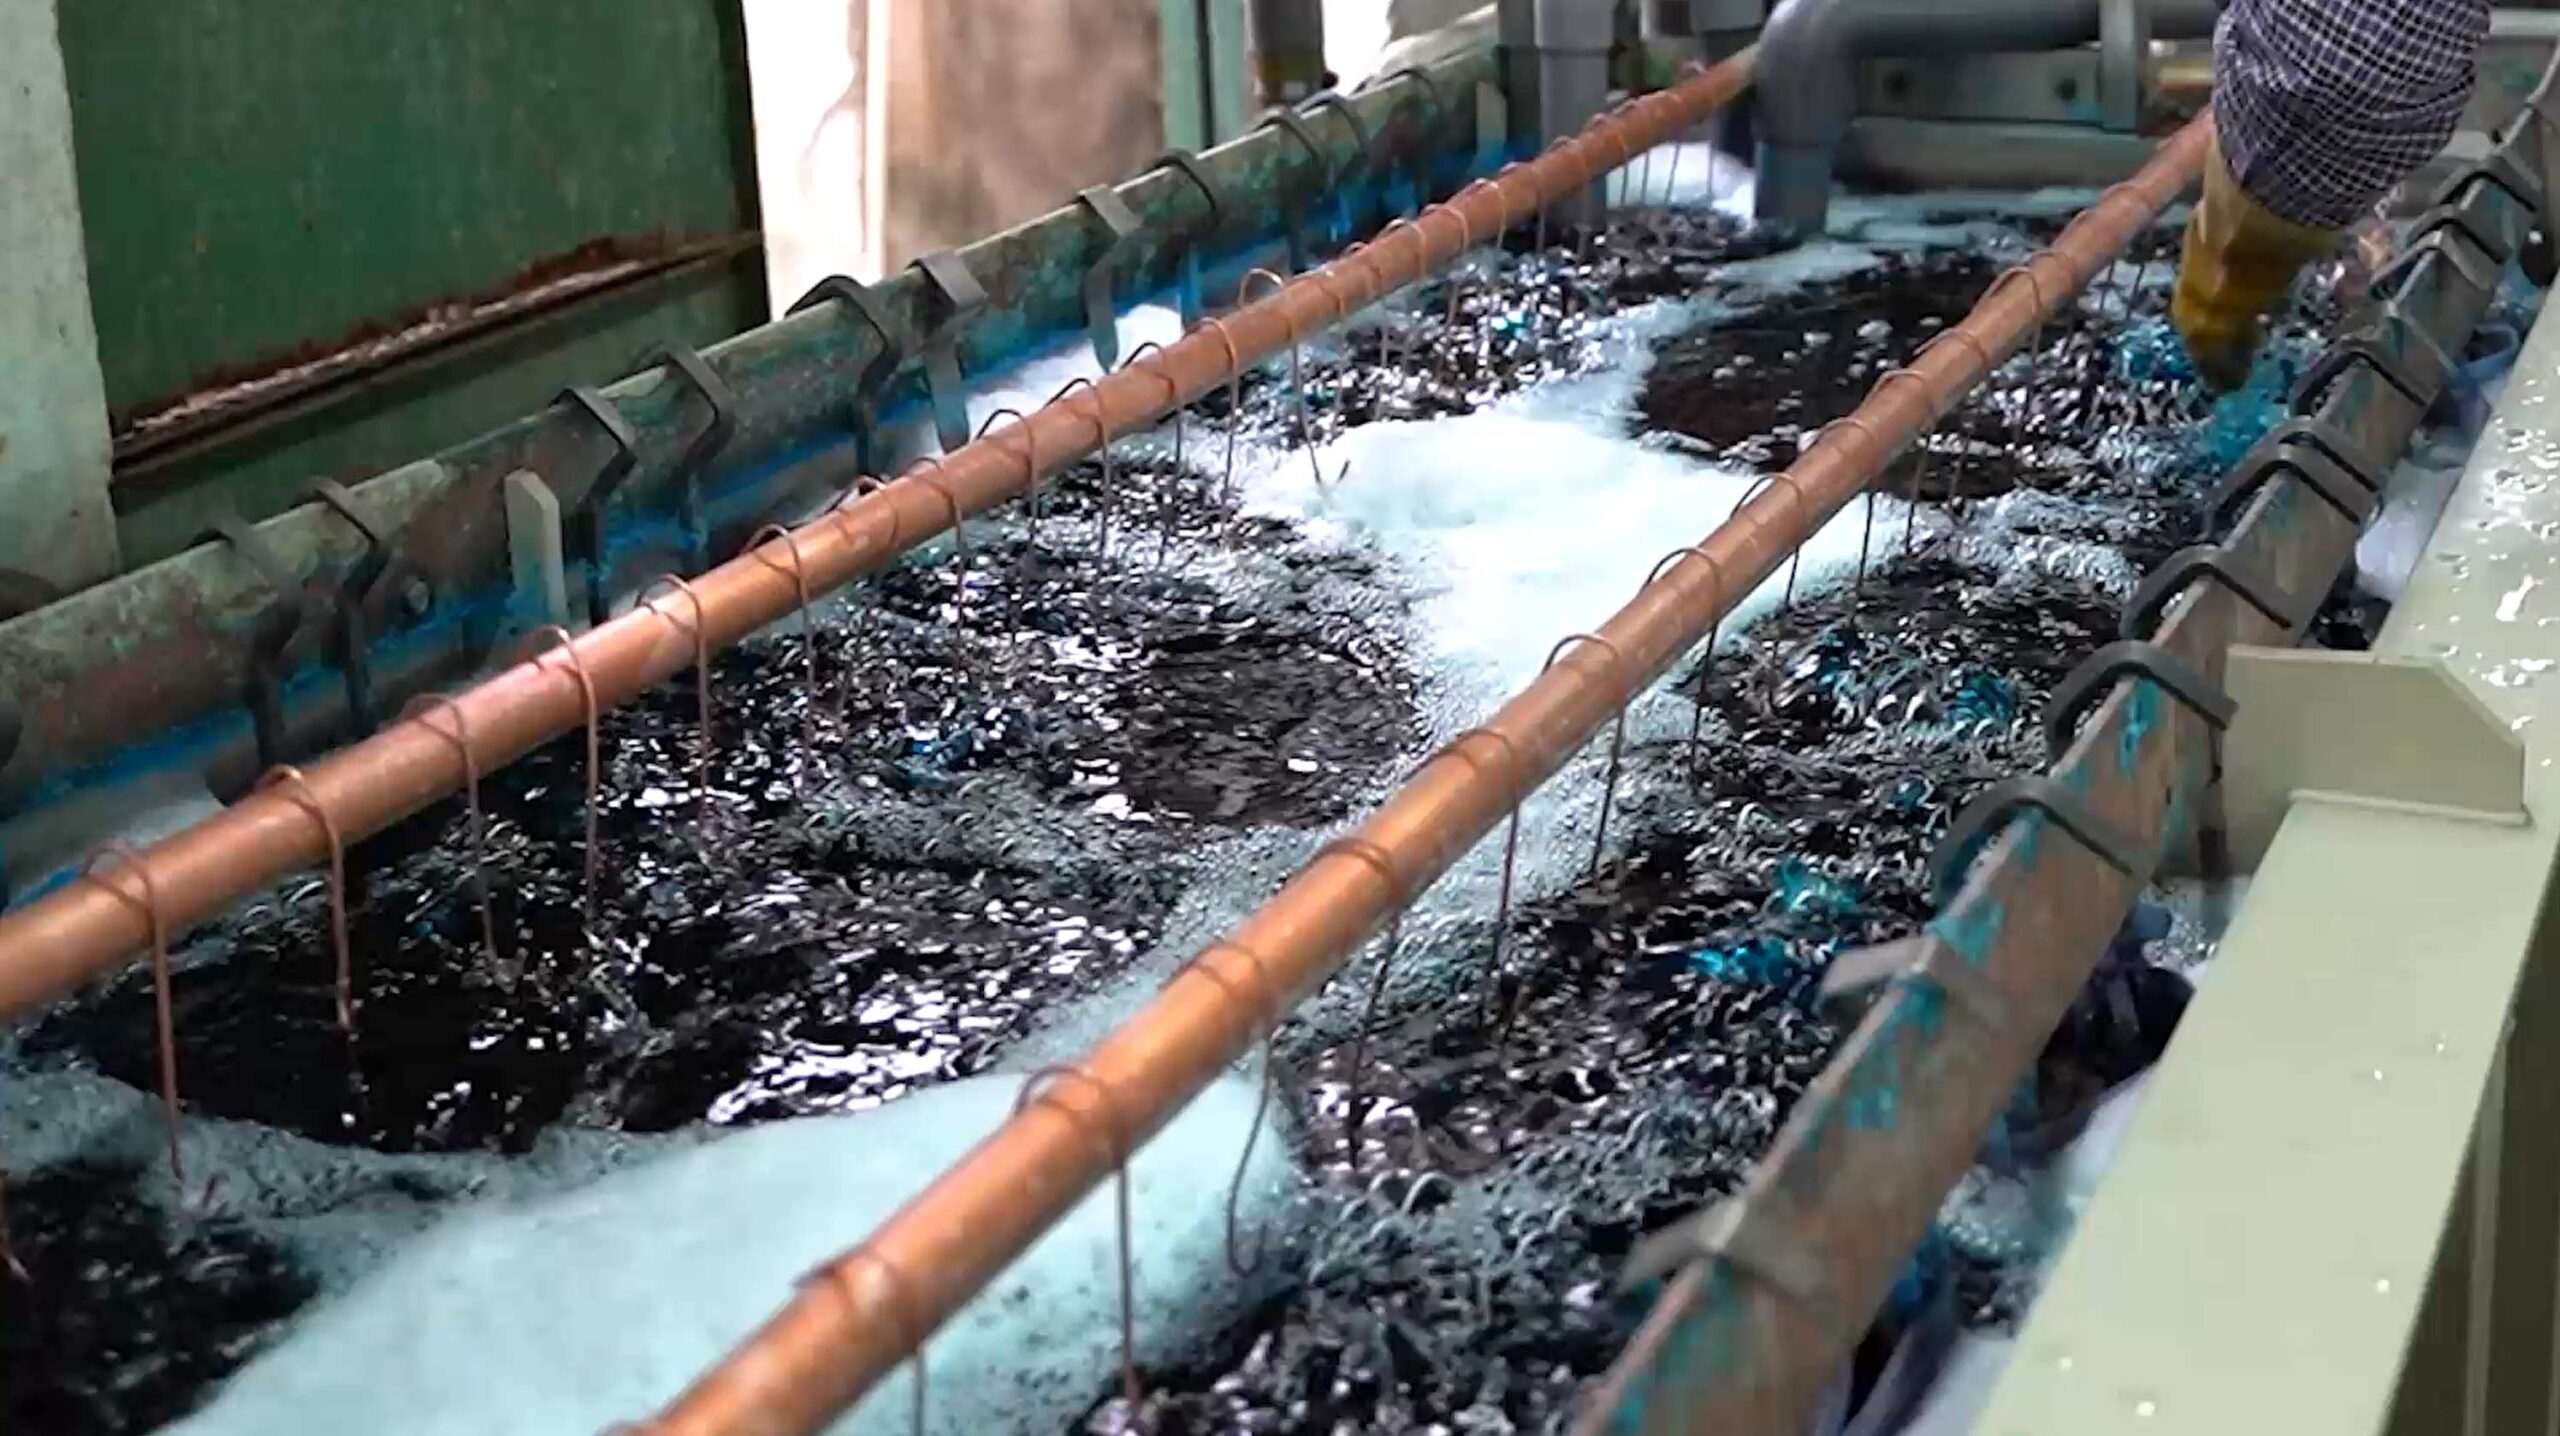
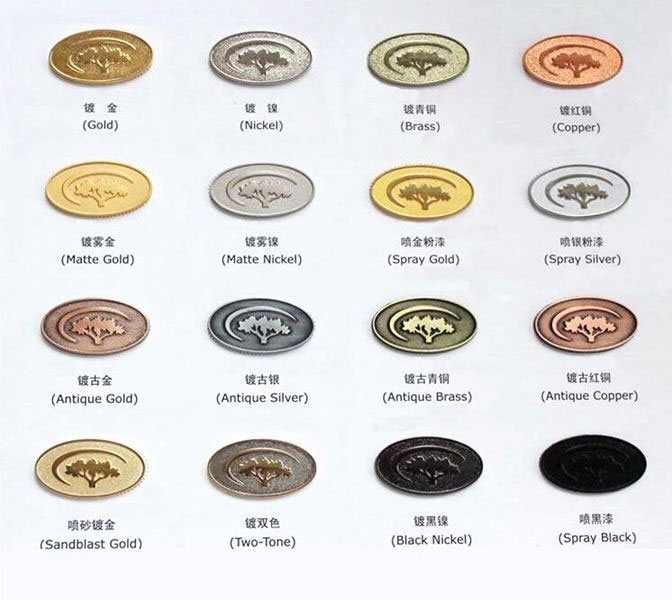
Polished pins will be sent to electroplating, which is according to the customer’s demand.
Shiny gold – shiny gold pins have a metallic gold finish with a polished surface.
Shiny silver – shiny silver pins have a classic silver finish with a polished surface.
Black paint – black paint pins have a metal base coated in black paint for a full matte effect.
Shiny nickel – shiny nickel pins have a silver-colored finish with a polished surface.
Antique gold – antique gold pins have a gold finish with a distressed surface for an aged effect.
Antique silver – antique silver pins have a silver finish with a distressed surface for an aged effect.
Shiny rose gold – shiny rose gold pins have a rose gold finish with a polished surface.
Shiny brass – shiny brass pins have a brass finish with a polished surface.
Antique brass – antique brass pins have a brass finish with a distressed surface for an aged effect.
Antique nickel – antique nickel pins have a silver-colored finish with a distressed surface to add an aged effect.
Shiny copper – shiny copper pins have a copper finish with a polished surface.
Antique copper – antique copper pins have a copper finish with a distressed surface for an aged effect.
Step 7: Coloring
Once your pin is electroplated the right color, the pins are loaded onto racks for enamel painting. The metal bases are heated up so that the enamel color flows better. A technician uses a color filled syringe full of liquid epoxy to inject color into your pin. Each color is inlaid one at a time.
Your pin design requires areas no smaller than 2mm to hold the liquid epoxy. We need enough space to hold enamel within any given enclosed metal shape.
Step 8: Quality Inspection
Your pin design requires areas no smaller than 2mm to hold the liquid epoxy. We need enough space to hold enamel within any given enclosed metal shape.
Step 9: Packaging
We can provide different packaging according to different requirements for customers.
Pin Attachment
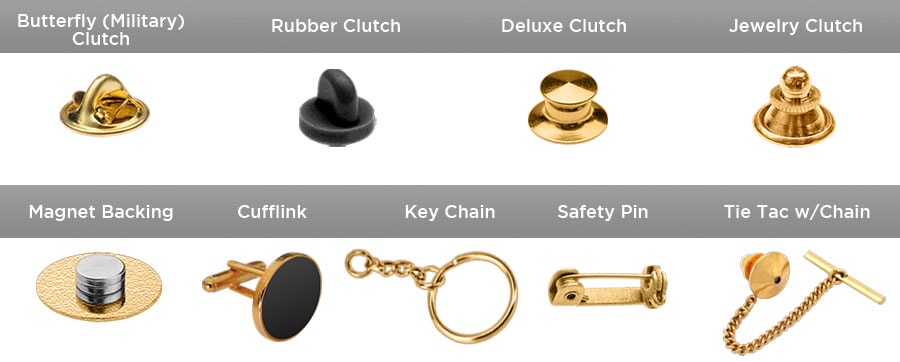
Butterfly clutch backing – a butterfly clutch is the most traditional type of pin backing. It’s lightweight, durable, and easy to attach and remove and it is usually the most commonly used and the cheapest.
Black rubber clutch backing – this type of pin backing is similar in shape and function to a butterfly clutch, but the pin backing is secured with a circular black rubber closure. There are many colors of the rubber clutch for you to choose.
Deluxe clutch backing – a deluxe clutch is a higher-quality version of a traditional butterfly clutch. A deluxe clutch has a brushed metal texture for a more upscale look so its price will be higher than butterfly and rubber clutch.
Magnet backing – Two types are included, the round magnet backing as well as the bar magnet backing. Not only can be attached to your clothes, can also be used as fridge magnets, etc.
Safety pin – This pin backing uses a traditional, nickel-colored safety pin backing to hold the pin in place.It can keep the balance of pins.
Special Pins Options
In addition to the pins of several processes mentioned above, there are some special pin options. For example:
Rainbow plating pins

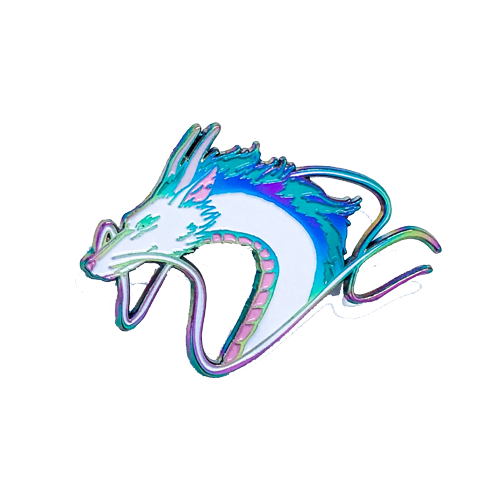
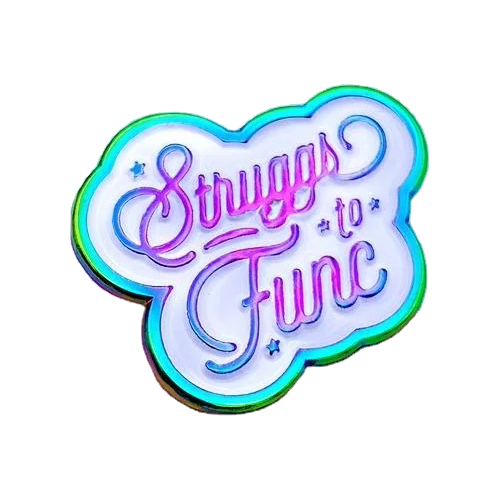
Have a series of colors rendered outward. The color change depends on the time that the process is applied to the product. It will start in blue first and then change to yellow, pink, purple, cyan and green.
Glitter pins

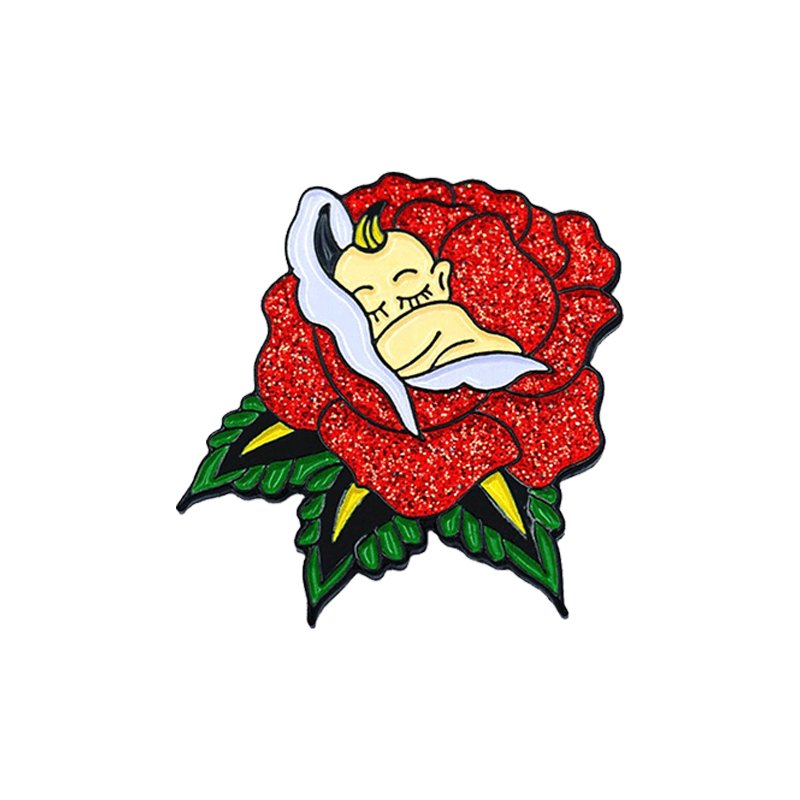

Add glitter in as many colors as you like to make your products look more vibrant and upscale.
